GPT Image 2 workspace

GPT Image 2 AI Image Generator

Create production-ready AI images with GPT Image 2 in one focused Lovimg workspace. Write a prompt, upload reference images, choose resolution and quality, then keep every finished result in your private generation history.

History
Text
Your GPT Image 2 results will appear here after generation.

GPT Image 2 prompt examples

Selected from Lovimg Featured prompt imports for GPT Image 2. These examples are hardcoded on this page so the landing page stays fast, stable, and independent from runtime gallery queries.

Use GPT Image 2 for prompt-based image creation, reference-guided edits, structured design layouts, and private iteration history.

One focused workspace

Write the brief, upload references, tune settings, compare outputs, and continue the same GPT Image 2 workflow without leaving the page.

Text and reference flows

Start from a written prompt, add reference images, or use the same console for image-to-image and edit-style work.

1K, 2K, and 4K outputs

Pick the resolution that matches your job: fast social concepts, sharper marketing visuals, or high-resolution presentation assets.

Private by default

Finished images stay in your Lovimg account history, ready to download, share, compare, or publish to the prompt gallery later.

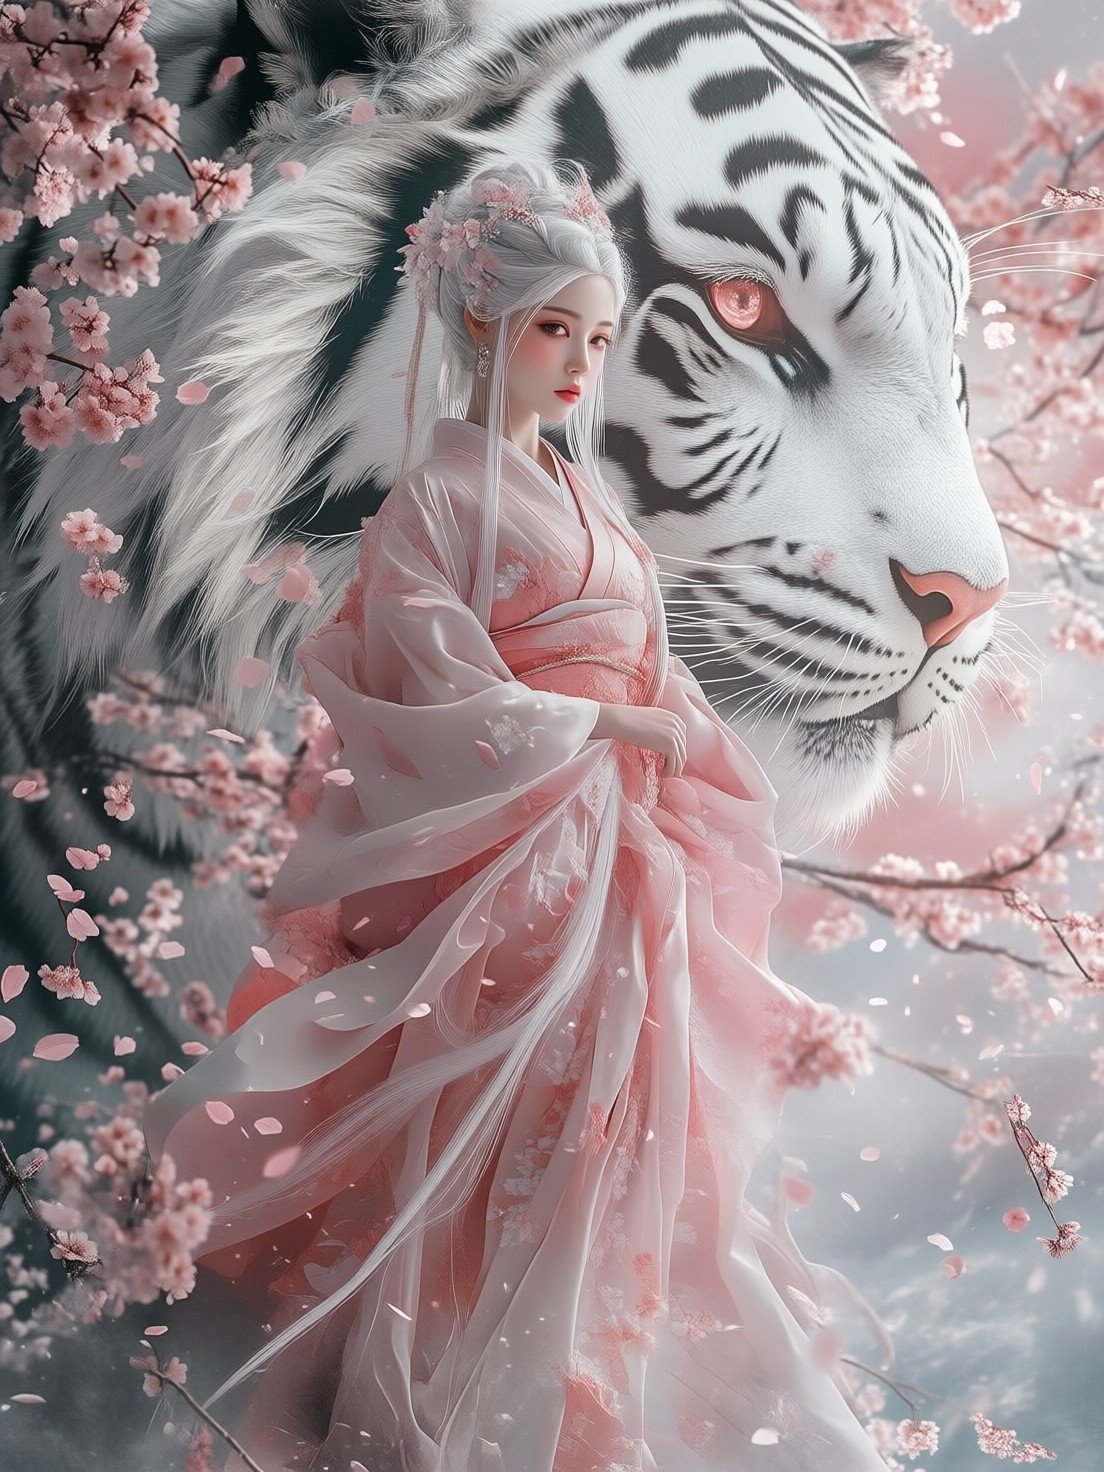
Traditional Japanese editorial portrait with serene styling and soft atmosphere
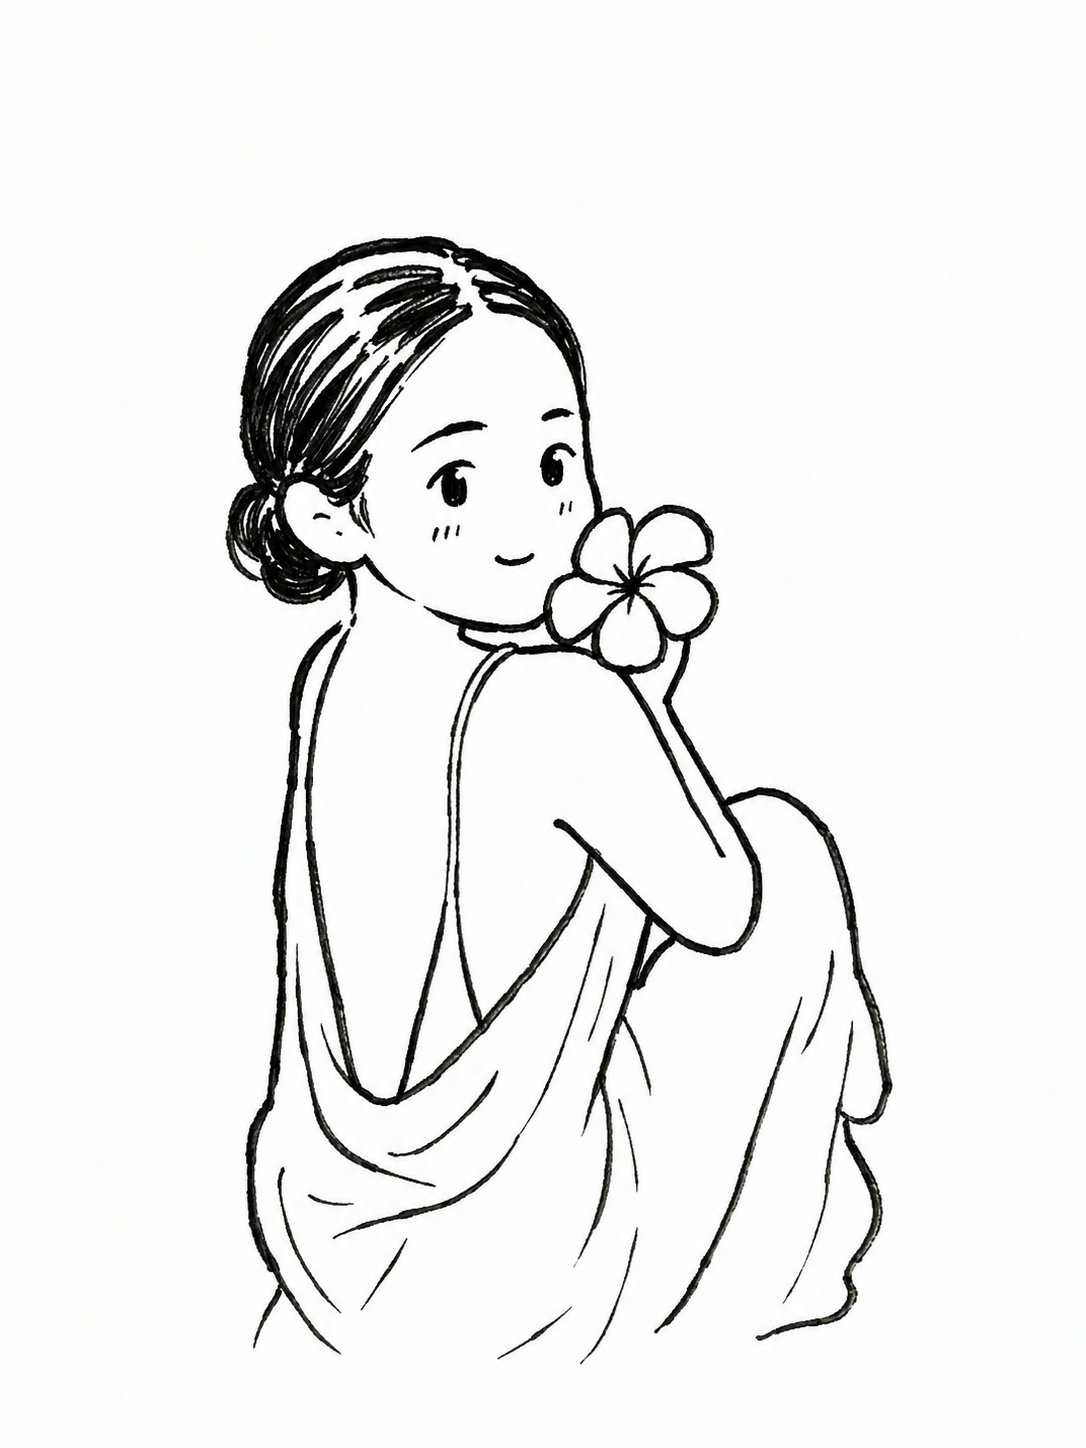
Black and white hand drawn chibi illustration from an uploaded family photo
Structured logistics workflow infographic with complete poster framing
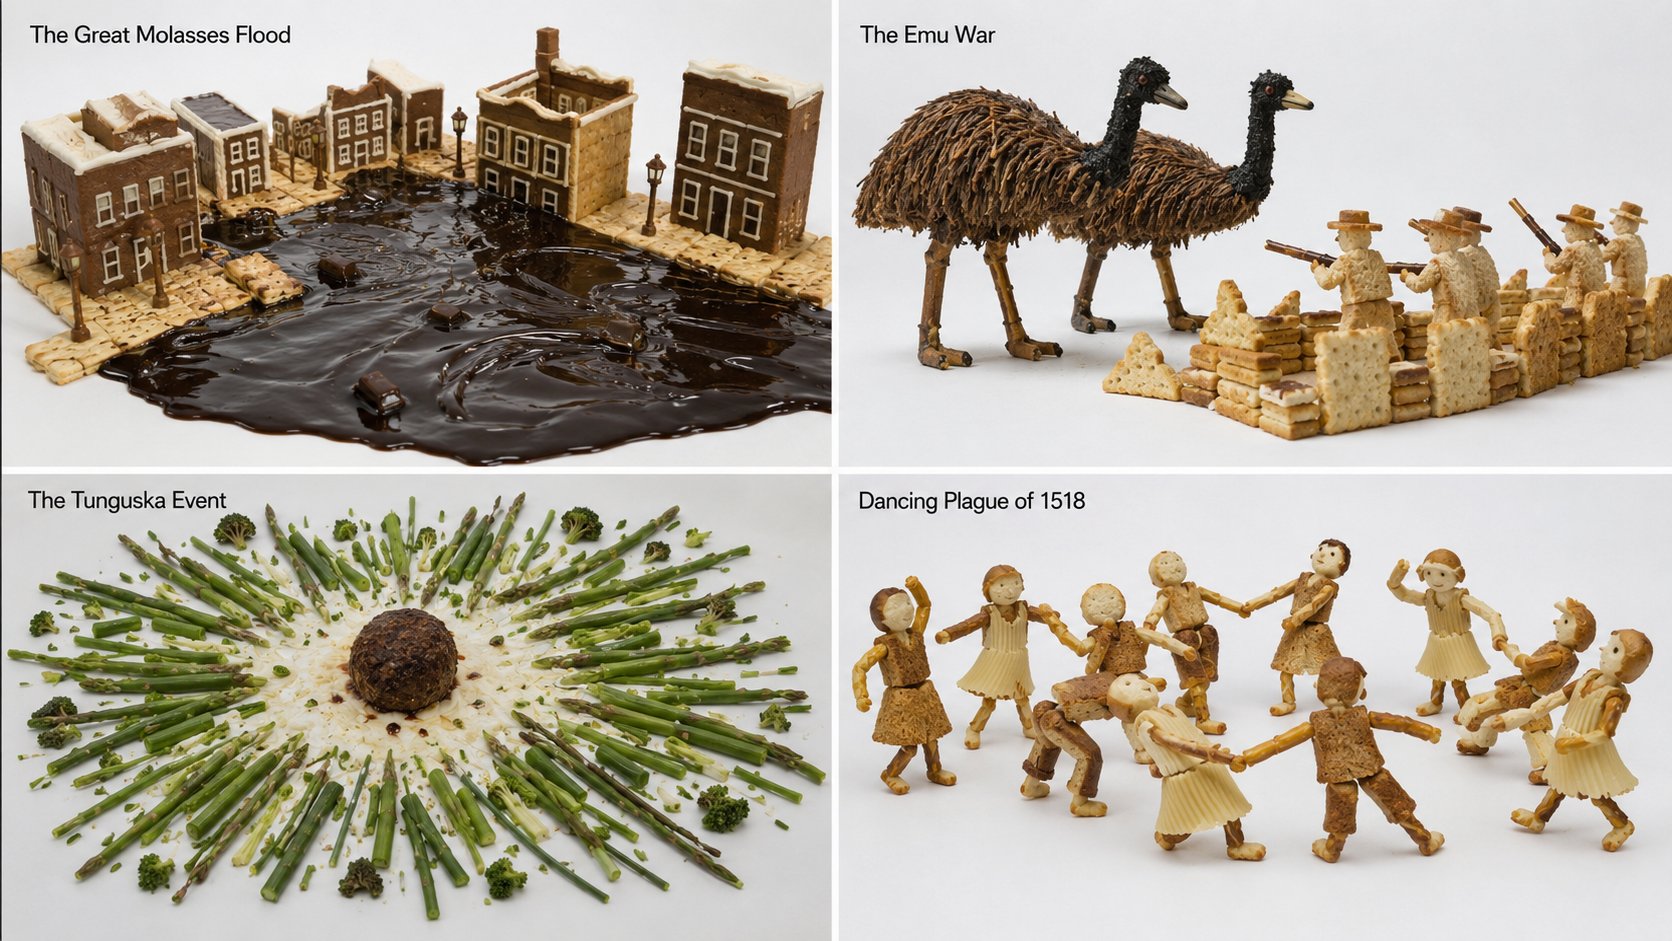
Obscure knowledge article visualized as a cinematic GPT Image composition
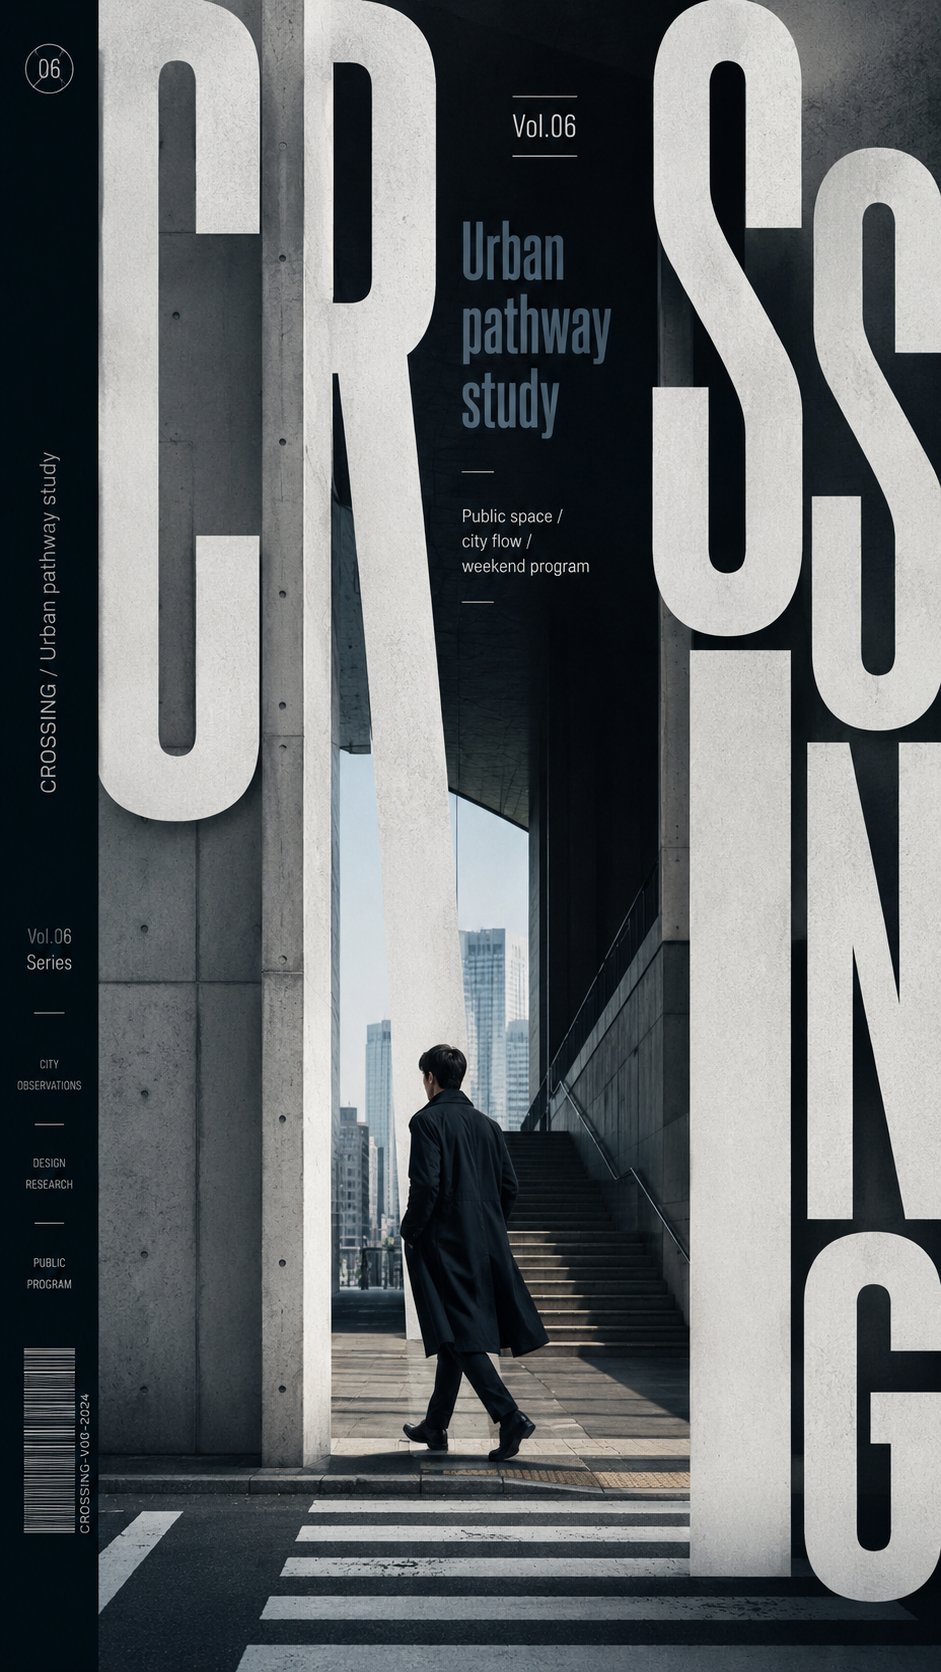
High end typography framed poster with expressive editorial layout
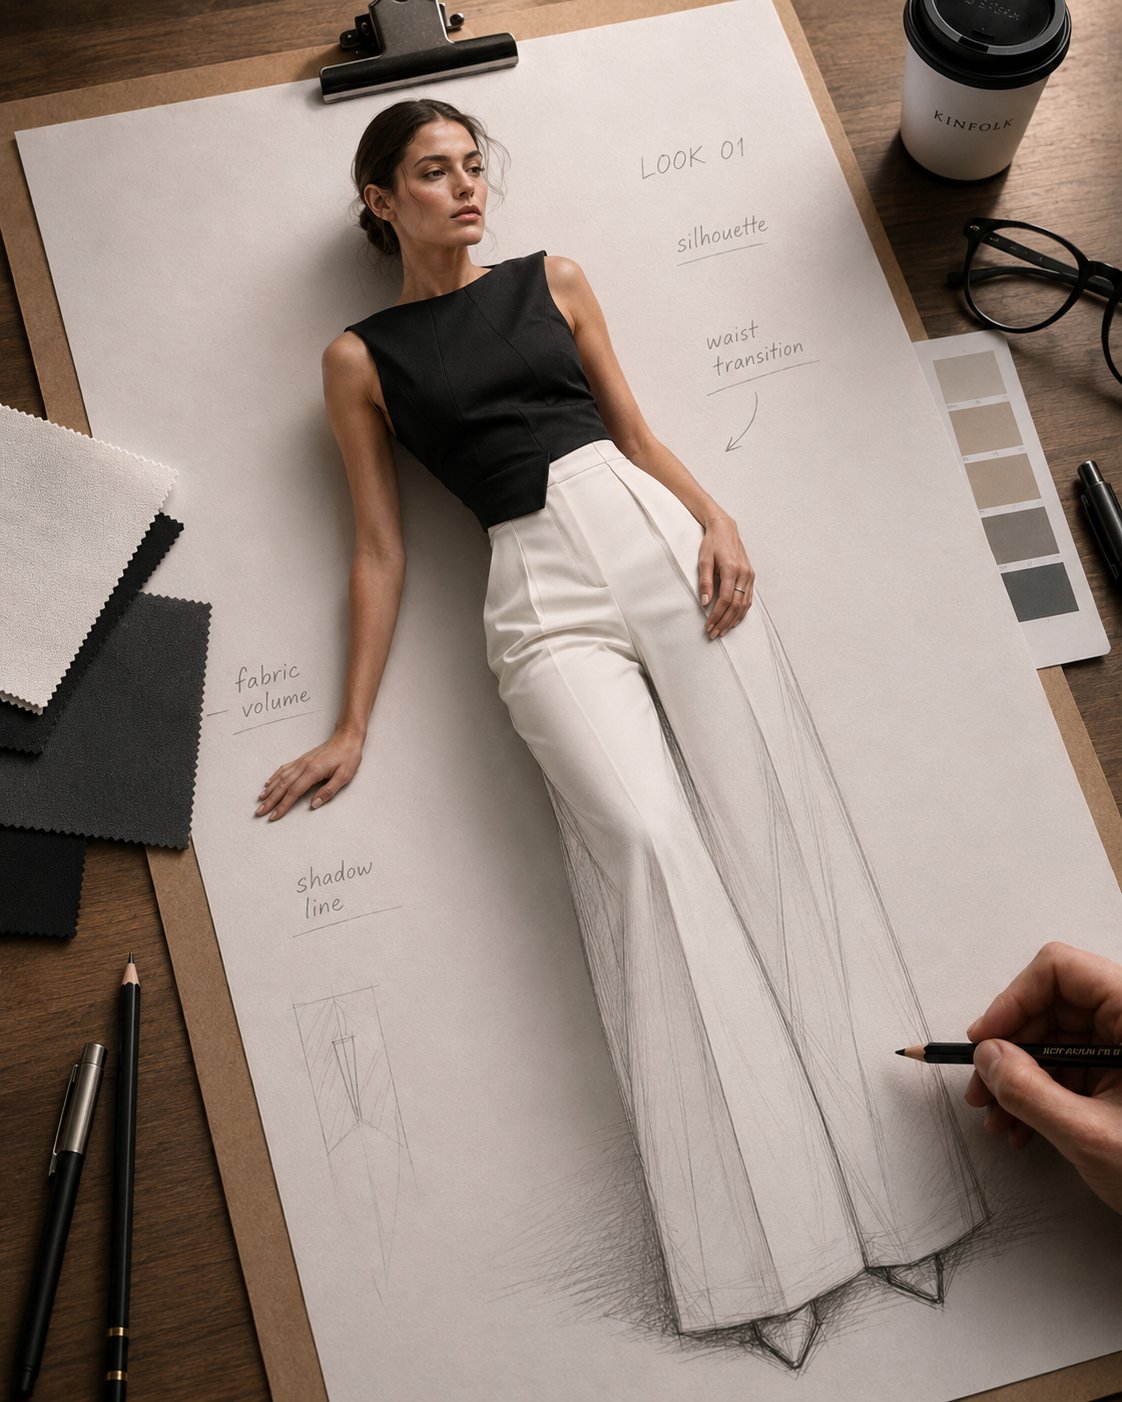
Premium fashion design workspace with sketch materials and refined lighting
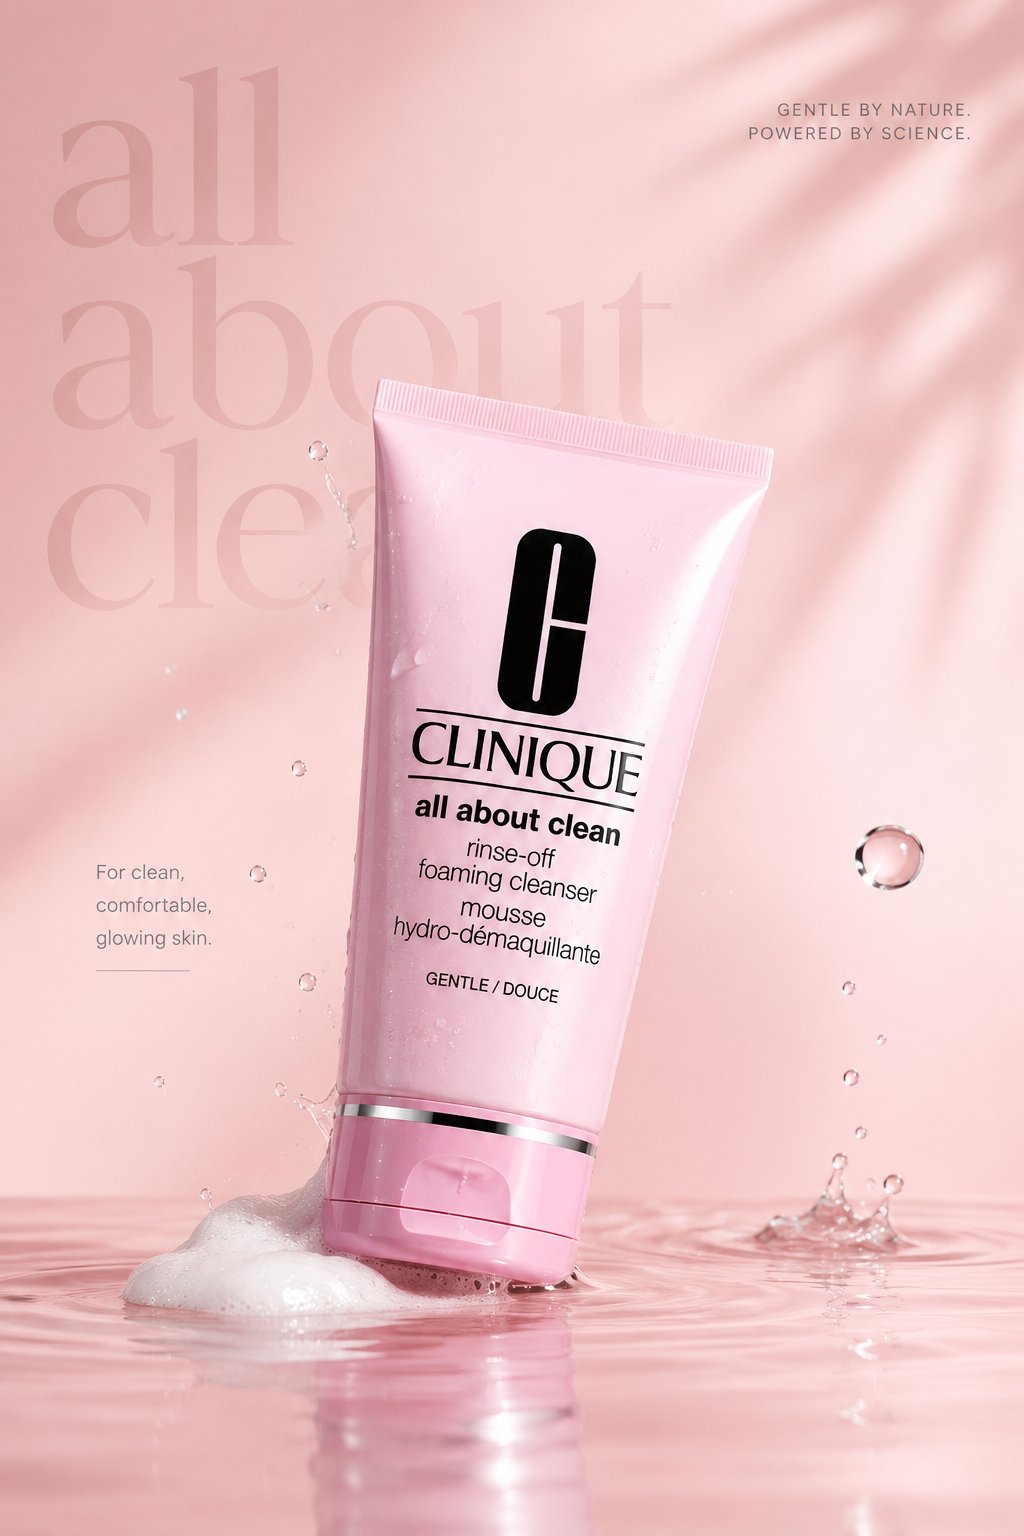
Luxury skincare advertisement with pastel product lighting and campaign polish
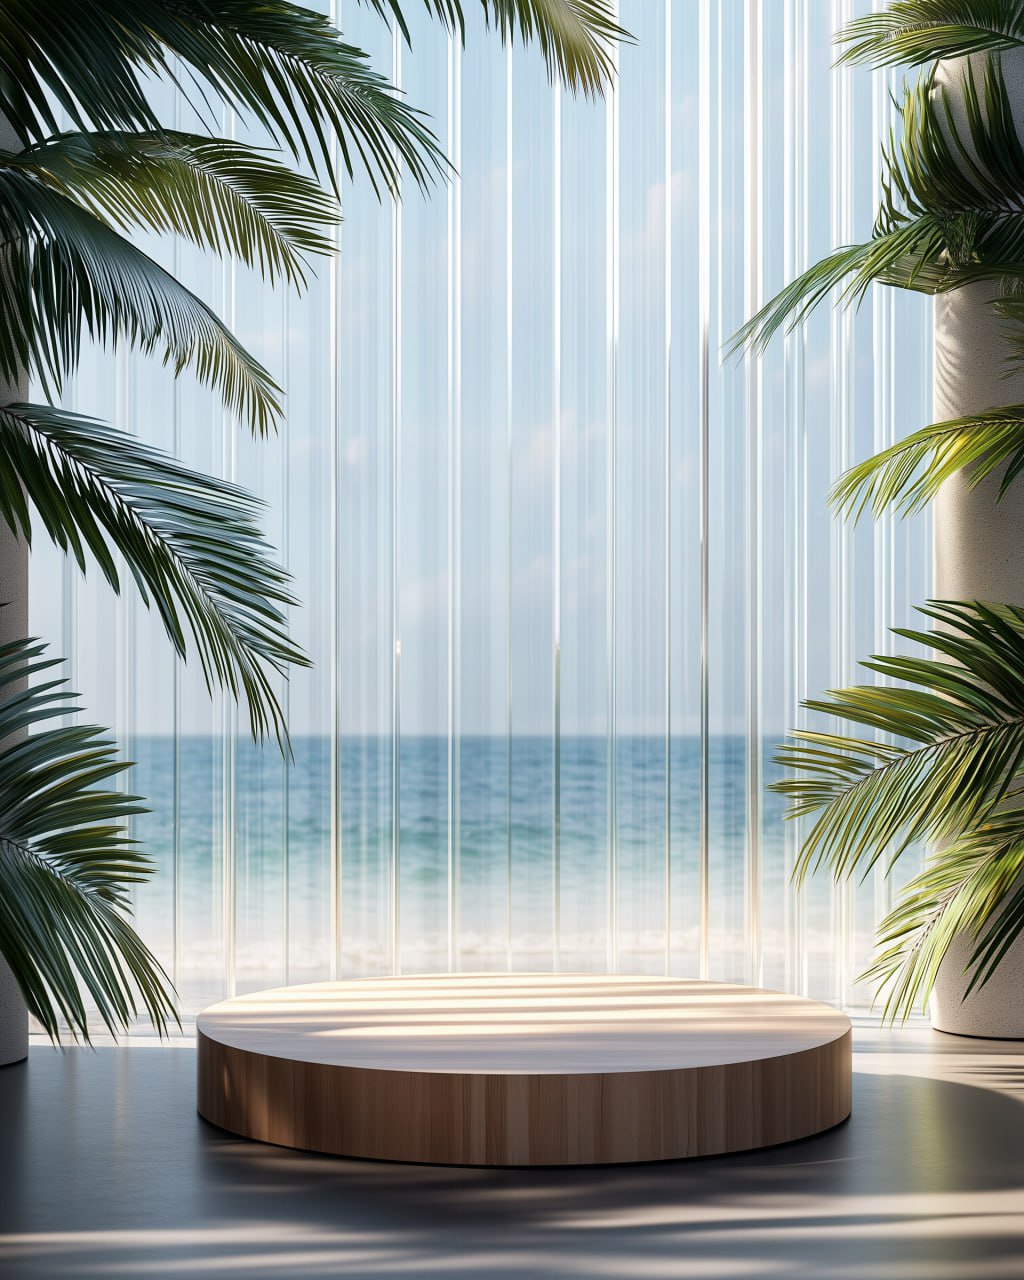
Round wooden podium product mockup with warm studio composition
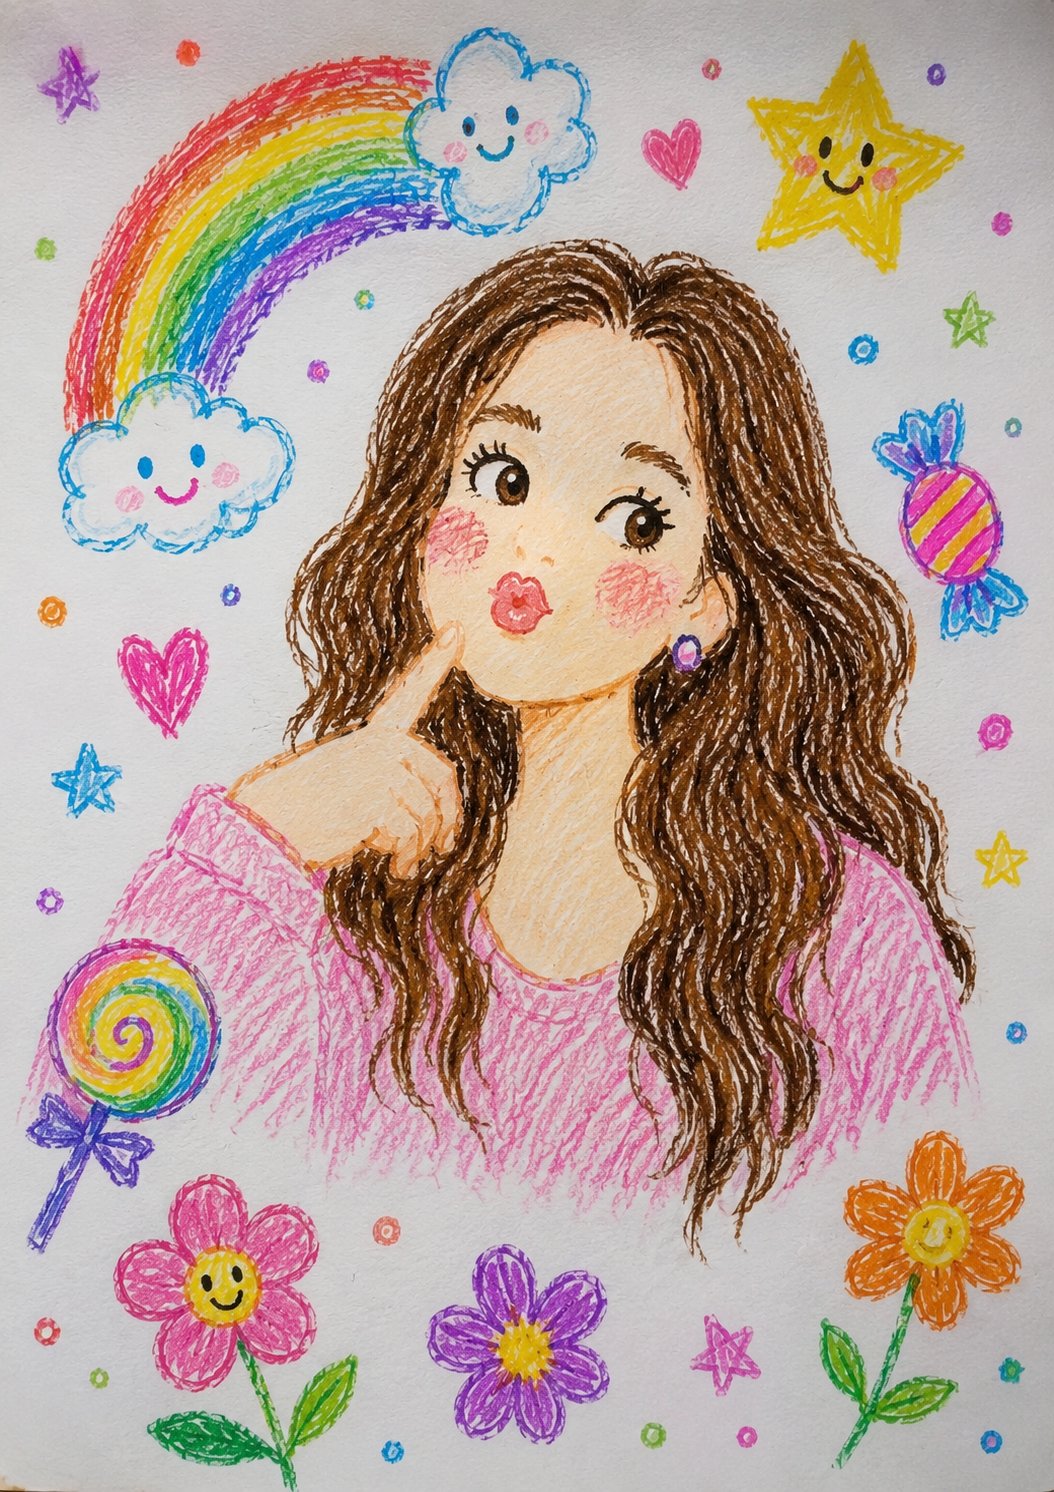
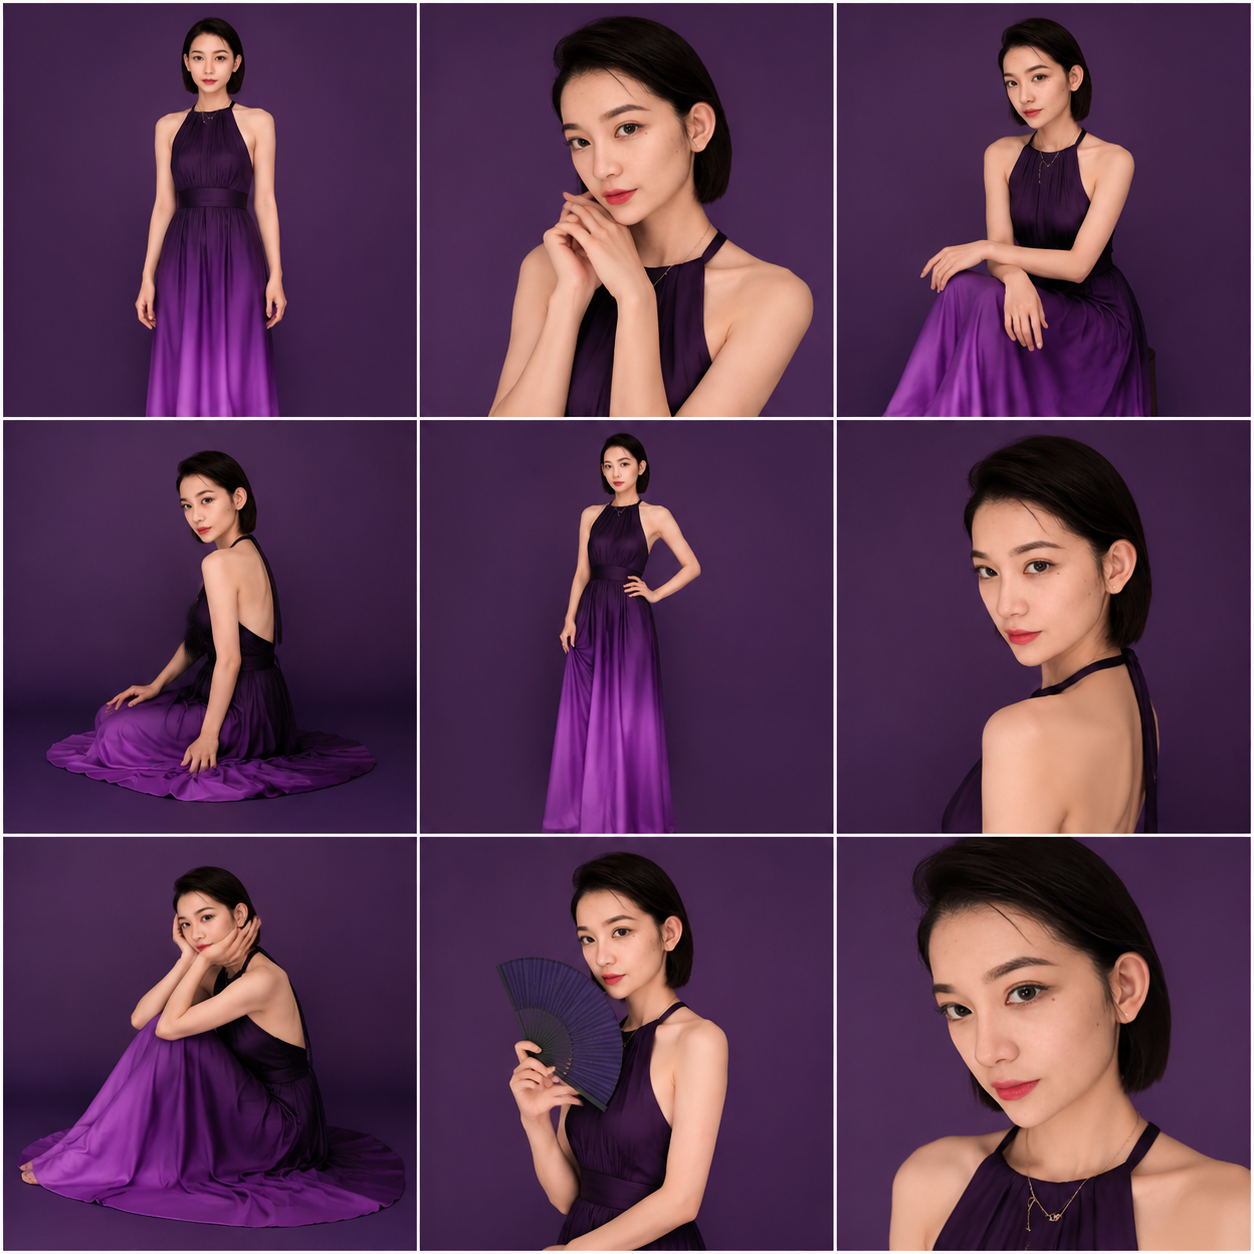
Generated GPT Image 2 portrait result selected for the example wall

Prompt patterns that hold up

GPT Image 2 works best when a prompt reads like a creative brief, not a loose keyword list. These patterns help you move from an idea to a reusable production workflow.

Start with the job the image must do

A strong GPT Image 2 prompt begins with the role of the image: product hero, editorial portrait, visual system, poster, social creative, storyboard, or landing page asset. Once the job is clear, the model has a reason to decide composition, format, visual hierarchy, and level of detail.

Separate fixed details from creative freedom

When you upload references, tell GPT Image 2 what must remain stable first: face likeness, product structure, clothing, framing, brand color, or layout. Then describe where it may explore: material, lighting, background, styling, illustration language, or campaign mood.

Treat each result as the next brief

The first usable image is rarely the final answer. Save what works, name what feels off, and use the selected result as a reference for the next pass. Lovimg keeps those outputs in the same history so the workflow stays readable instead of becoming a scattered download folder.

Build a better GPT Image 2 workflow

GPT Image 2 works best when you separate idea shaping from final output. Use the same workspace to move from prompt structure to polished images.

Prompt-first creation

Text

Create

Start with a clear visual brief, then refine subject, layout, lighting, style, brand tone, and intended use until GPT Image 2 has a precise job to solve.

Reference-guided iteration

Images

Edit

Upload product photos, portraits, sketches, or screenshots to guide composition and edits while keeping the final result tied to your private history.

A cleaner GPT Image 2 workflow

The console above is the production surface. The flow below is the mental model for getting better results with fewer blind retries.

Brief

Write the target outcome

Name the format, subject, audience, style, lighting, composition, and intended use. The more the prompt describes the outcome, the less GPT Image 2 has to guess.

Tune

Adjust only what matters

Pick aspect ratio, resolution, quality, and output count from the toolbar. Use lower stakes settings to explore language, then raise output quality when the direction is stable.

Finish

Compare, save, and continue

Review the large preview, compare the latest history grid, download the strongest output, or feed it back into GPT Image 2 as the next reference.

Tips for better GPT Image 2 prompts

Write the job, not just the object. “A premium skincare product hero image for a mobile landing page” gives GPT Image 2 a clearer target than “a bottle”.

Separate stable requirements from creative freedom. Say what must remain unchanged when using references, then describe where the model can explore.

Use low-stakes iterations for language discovery. When a prompt starts working, increase quality or resolution for the final pass.

GPT Image 2 questions

Start creating with GPT Image 2

Open the console above, write one clear visual brief, and let Lovimg keep the whole GPT Image 2 workflow in one place.

Back to generator